

How to design a Watercolor Greeting Card 🎨🖌
Greeting Cards are a great way to express your feelings. And if it is handpainted, it will become more precious !!
Here are a few steps to make a pretty nice greeting card. Even if you are a beginner, don’t worry, it will become easier once you start.
What will you need ?
Things you’ll need to make this card are listed below :

- Watercolor paper (300gsm ; good enough) (used A5 size)
- Watercolor
- Watercolor Pallete
- Watercolor brushes (size 2 & 4 )
- Fineliner (no. 3)
- Pointed pen
- Mettalic color
- Mechanical Pencil
- Ruler
- Water
Draw guidelines

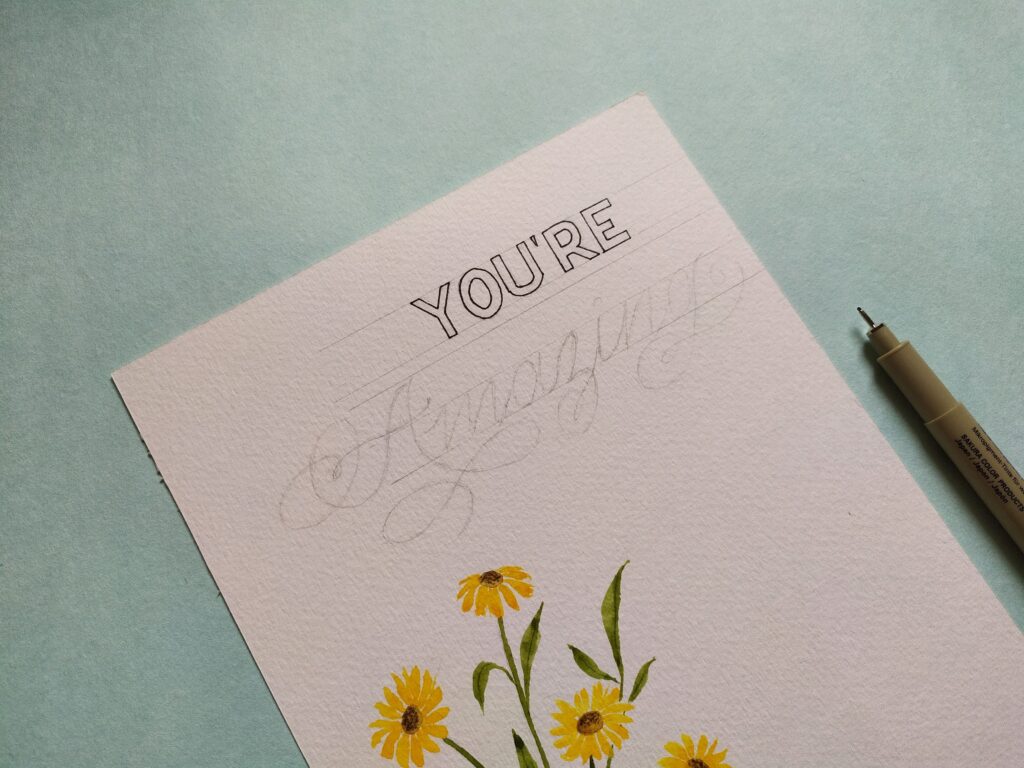
Let’s start with drawing guidelines. Make 4 guidelines on top-right. keep 1.2 cm space between the first two lines. Now write ” YOU’RE ” in it.
while in the other two guidelines write ” AMAZING ” in flourish lettering, It should have space about 2 cm between them.
Watercolor florals
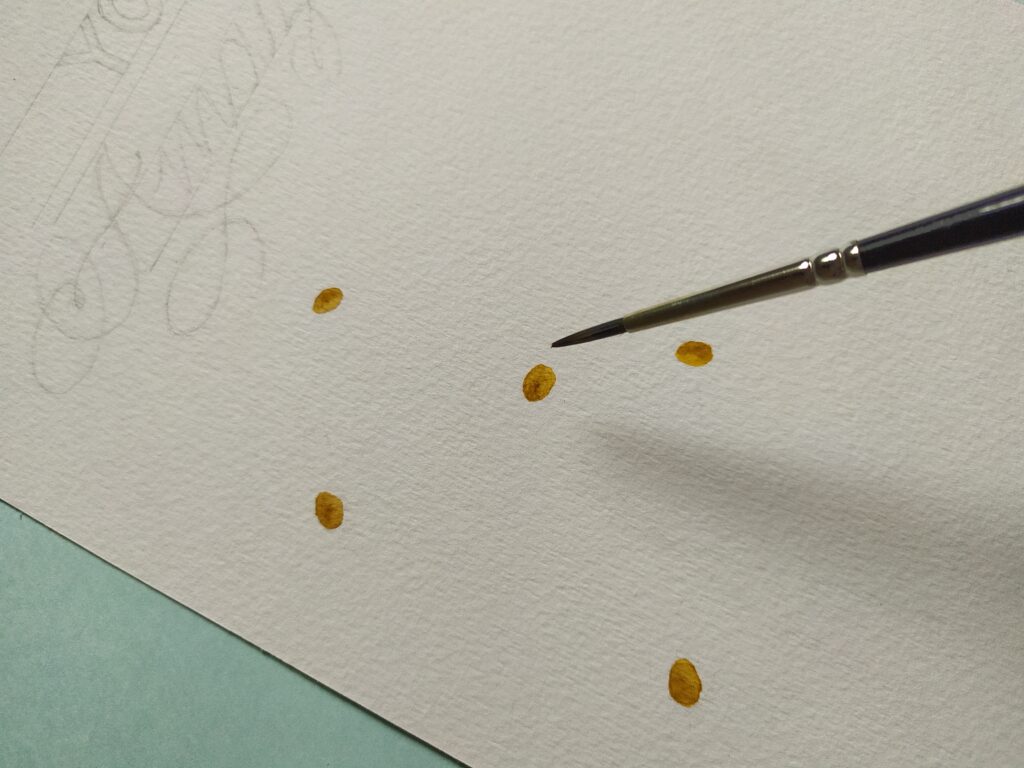
First starting from the center of the flower; Use the yellow ochre color to make an oval shape. Make it a little darker on the upper side with brown color by using the wet on wet technique.
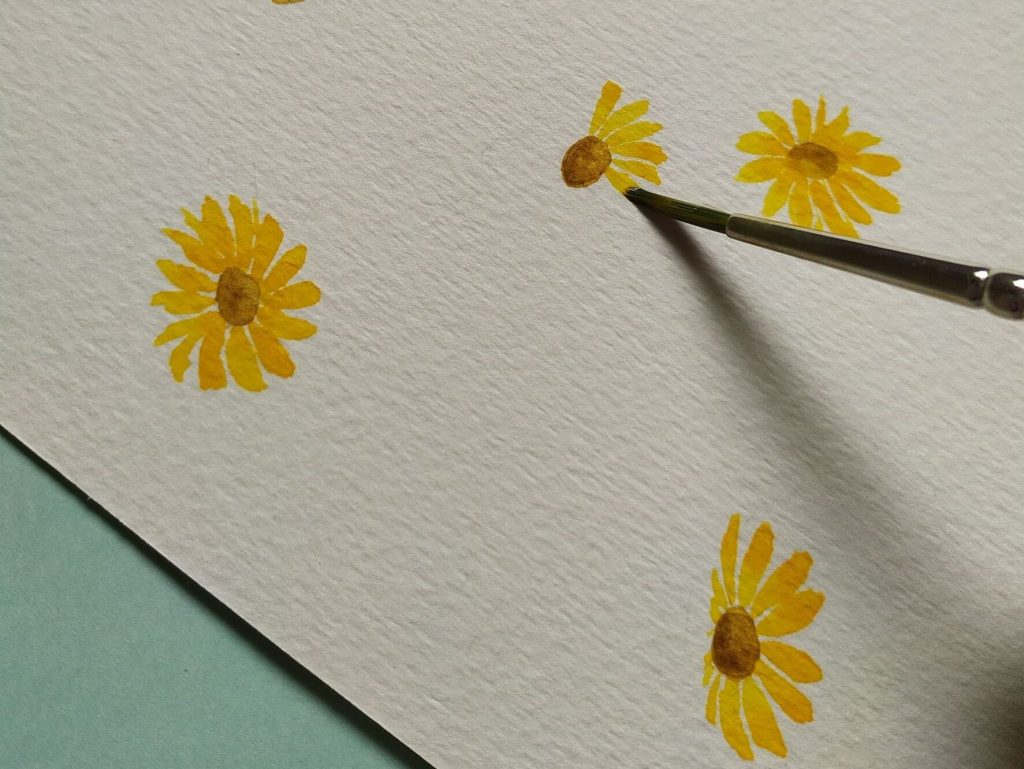
now let’s make flower petals.
Take gamboge color; add slightly orange color in it. Use a watercolor brush (no. 4), make petals as shown in the image.
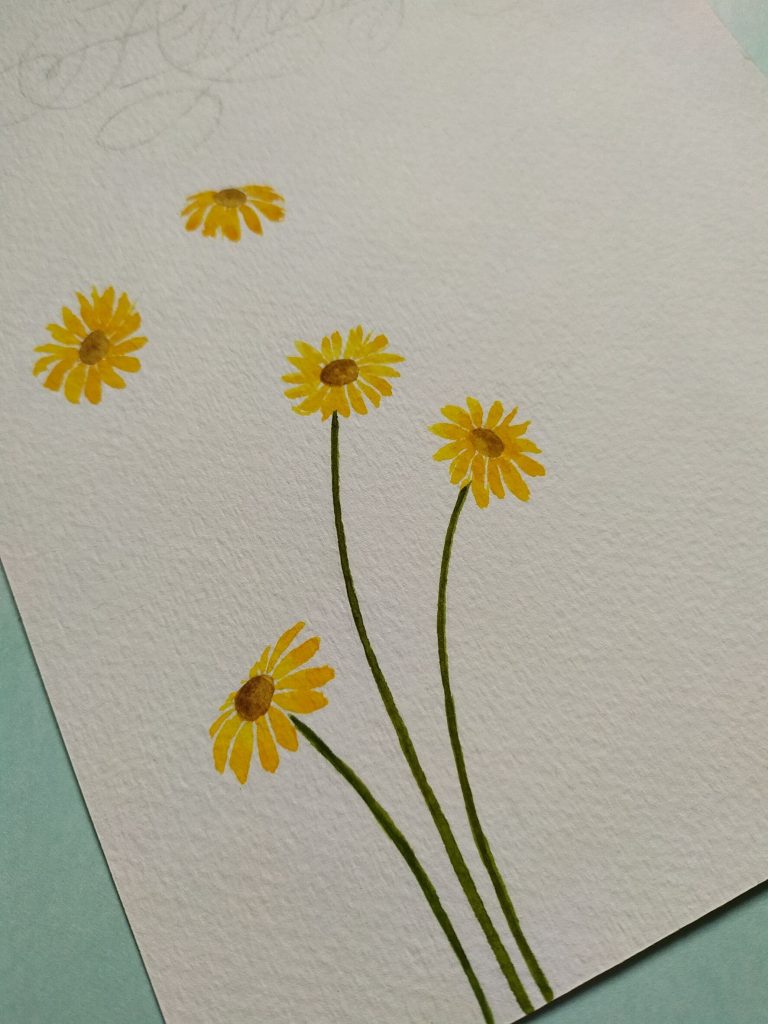

Mix sap green+ vermillion color (3:1). Paint stems and leaves with it. Use size 4 brush.
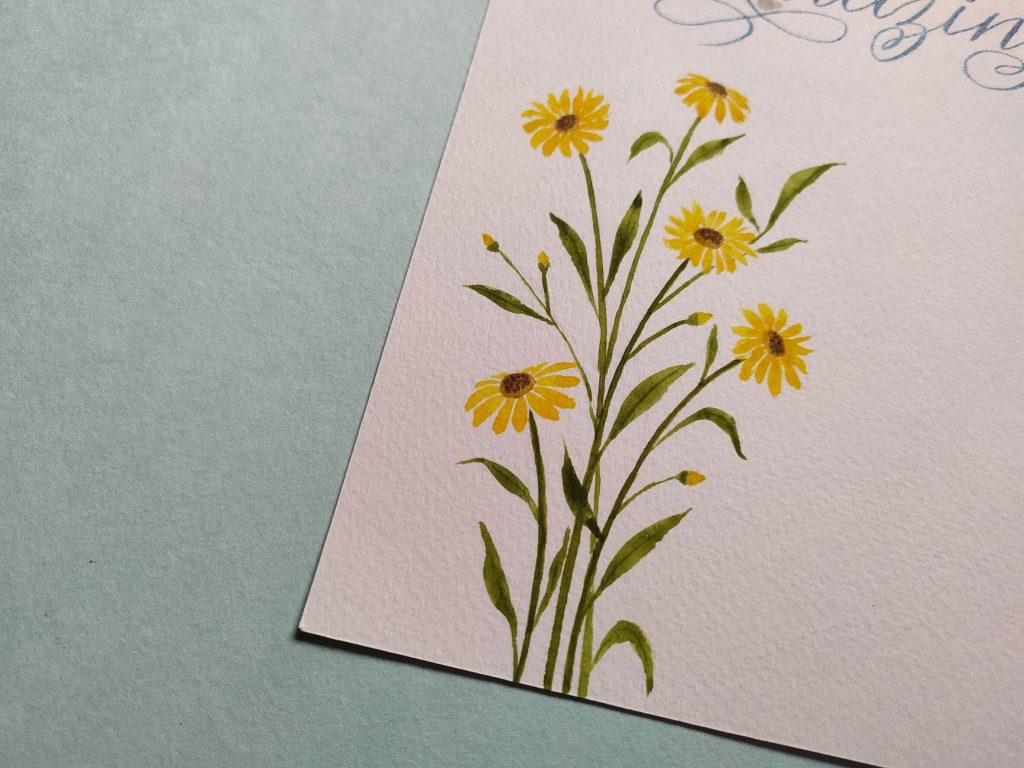
Add details into leaves and flowers(size 2 brush). Paint some buds to make it more elegant.
Now use fineliner (no.3) to write ” YOU’RE “.
Lettering


Here you have to use metallic color for lettering. Load your pointed pen with it and write “AMAZING” by using some beautiful flourishes. Let it dry!
If you don’t have pointed pen ,you can also write with paint brush(no.2).

Yeah! Your Pretty card is now ready !!! Put it into an envelope and send it to your favorite people.
Hope you enjoyed this tutorial. Leave a comment below.
Do tag us if you try this; we would love to see your creation.
regards,
– Zeenat Design

You May Also Like

“The Beauty of Fall”🍁: Free Wallpapers
